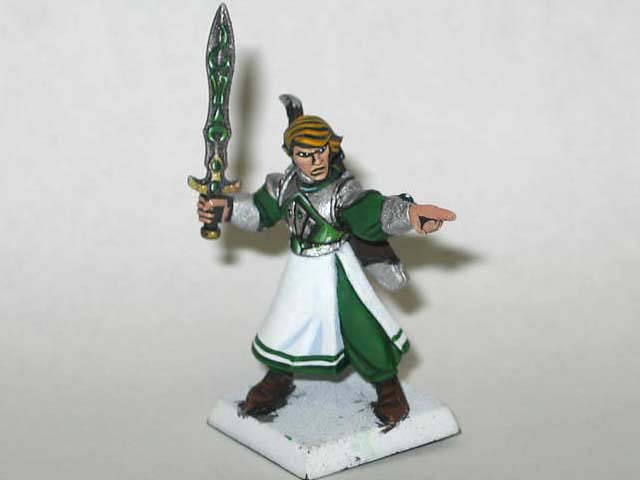
Painting a High Elf Hero
Primered Model
First, you'll start out with a primed miniature. In the case of the high elf, I've chosen to use white primer. Normally, I would use black primer, but it takes FOREVER to paint a light color (such as white or yellow) on black primer. The elf will have a white robe, so I decided to just paint the non-robe parts black after I prime it.
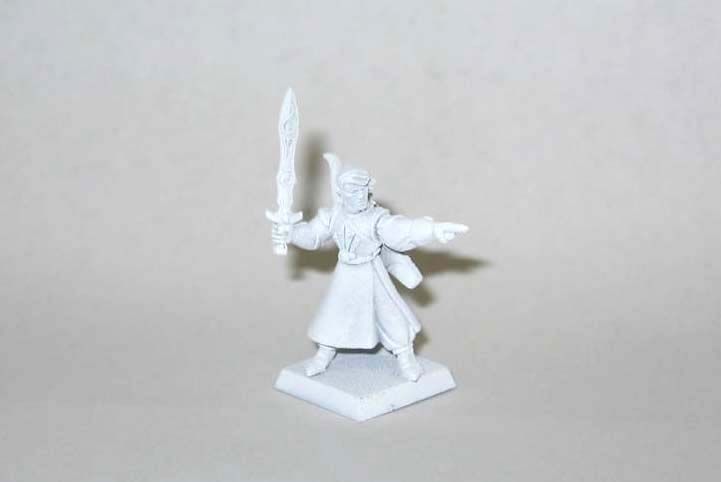
Most people would advise you to use two light coats of primer, rather than one heavy coat. A thick coat will take away some of the detail from the model. But for our purposes, one heavy coat shouldn't do too much to the detail. (Just don't overdo it.)
Another piece of advice that most experienced painters would give you would be to thin down your paints. If you want a really smooth and perfect paint job on your mini, then that's the way to go. You should put some of your paint on your pallet, and then add some water. But if you don't mind some slight inperfections in your paintjob, then you can use the paint right out of the pot if you'd like. I've done it enough so that I can actually get a pretty smooth paintjob even without thinning down the paints, so it's not a big deal. Either way, the mini should look alright from two or three feet away. But if the paint seems too thick to directly apply, then feel free to add water to it. All I'm saying is, you don't have to add water if you don't think it's necessary.
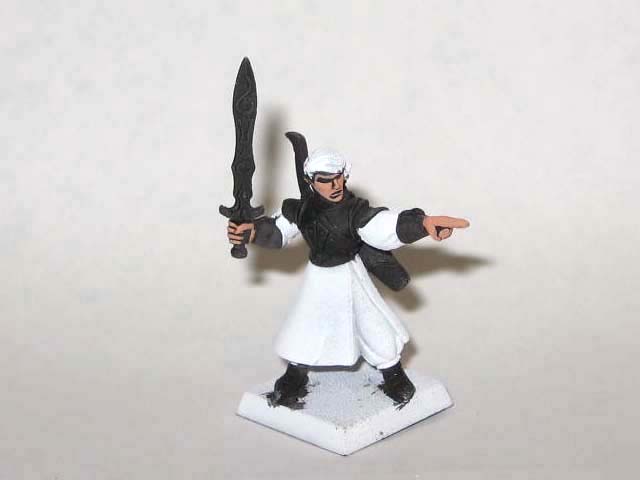
Black Basecoat
After the primer, I've painted the flesh, armor, and leather parts of the model black. If you used black primer, this step won't be necessary. The black basecoat will give me some shading later on.

Painting the Flesh
One of the standard techniques for painting flesh would be to start off with a basecoat of Dark Flesh. Then, highlights of Dwarf Flesh, and Elf Flesh are added. But in our case, we are going to use the black as our basecoat. (This would save you time if you had primed the model black.)
Then, we paint all but the very deep crevices of the face and fingers with a flesh color. For this model, I have used the Vallejo color Beige Red.
After applying the basic flesh color, we add one more highlight to the very tip of the nose, the cheeks, chin, knuckles, and all other raised areas. For this model, I have used Elf Flesh.
Painting the Eyes
A lot of tutorials that I have read tell you to use an off-white for the eyes, but I don't see anything wrong with using plain white.
So, I paint the eye socket white, and then add a dot of black. It's that easy.
Painting the Hair
You can drybrush it, but in the case of the high elf, the details on his hair are large enough to paint manually. Drybrushing will save you a lot of time, but for this model, I decided to paint it manually. I started off with highlighting the already black hair with snakebite leather. (*Note: I forgot to paint the hair black earlier. Just pretend that I did. Hehehe)
After the snakebite leather, I highlighted again with Vomit Brown.
Lastly, a subtle highlight of Golden Yellow.
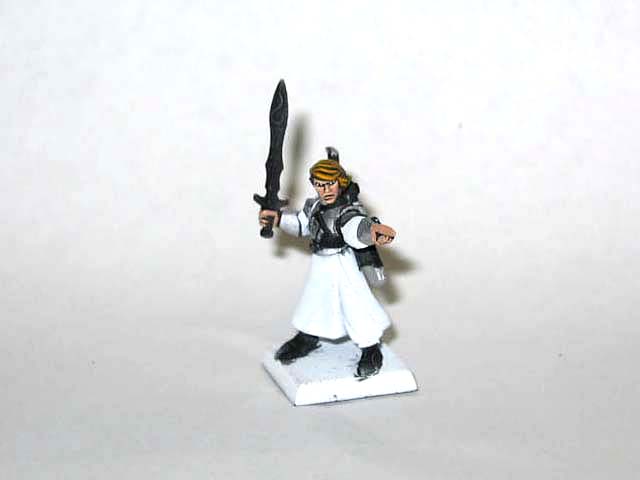
Painting the Armor
You can choose to drybrush the armor, but I prefer to simply paint the armor Mythril Silver. Just a preference. (It just looks more shiny than a simple drybrush). I did however, drybrush the sword (see next picture)
Green Basecoats
Next, we move on to his sleeves, pants, the gems, the rest of his armor, and runes on his sword. Luckily, all of these are the same color. (Dark Angels Green)
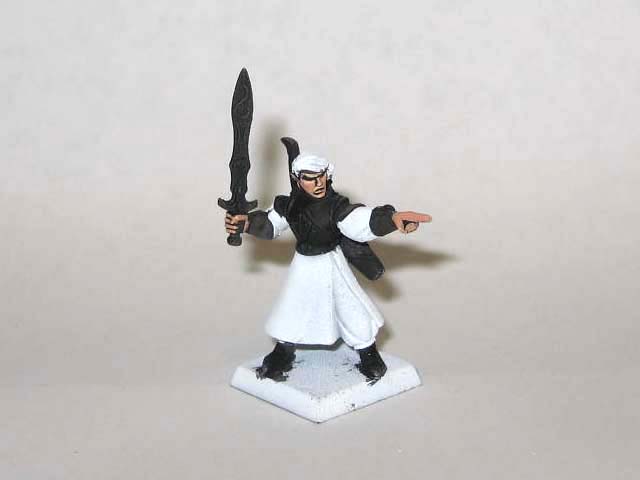
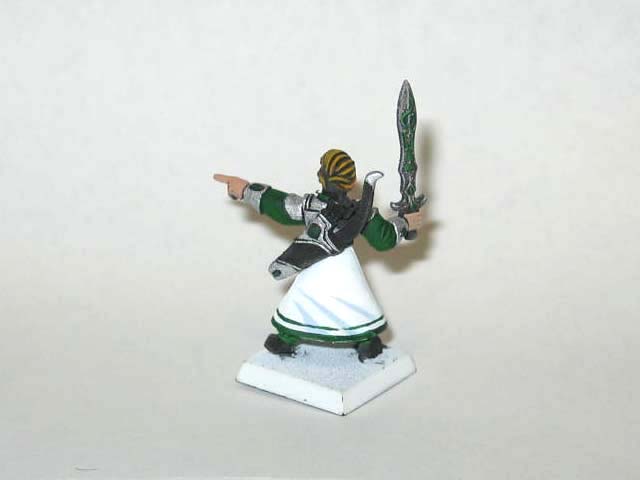
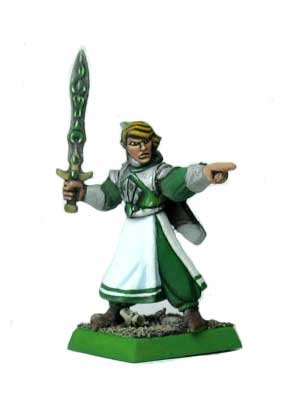
Painting the Robe
Now, we work on the robe. A quick, but effective way of adding depth to white cloth is to simply paint the recesses Spacewolves Grey, and keep the rest of the cloth white. In the next two pictures, I have painted what will be the recesses of his robe, Spacewolves Grey. Don't worry about being neat, because you will make it neater when you paint the white over it.

Next, you paint white on everything else. When painting the white, make all the lines neat and clean.
Green Highlighting
Now, we work on adding some depth to his sleeves and pants. We simply paint the raised areas Snot Green. (Also notice that I cleaned up the green lines on his robes that were accidentally painted over by the white paint in the last step). (I have also highlighted the lines with Snot Green) Also note that I have painted a crescent on the bottom right corner of each gem Snot Green.

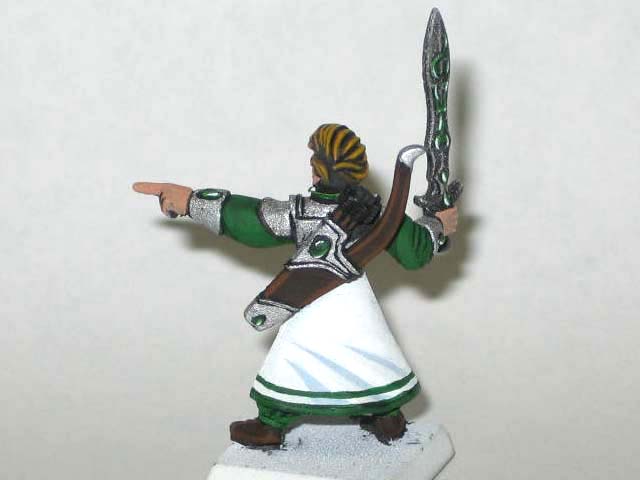
I wanted part of his armor to look like it was glowing green, so I will use the same colors on that part of the armor that I use on the gems and runes. First, I highlighted the armor, runes, and gems Scorpion Green.

Then, a final highlight of white.
Brown Basecoats
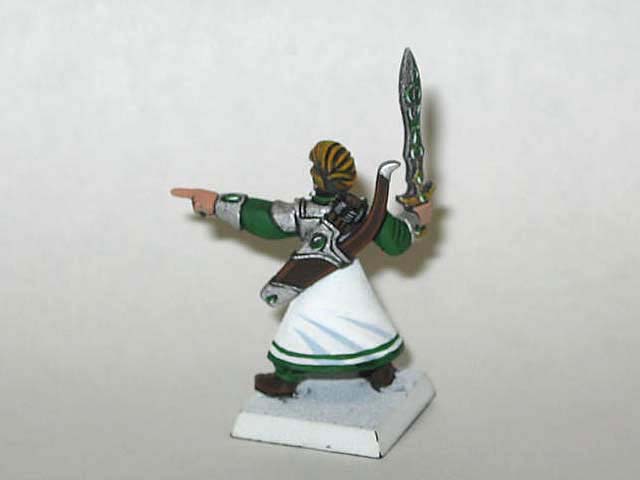
Now, on to the shoes, bow, and bow holder. First, a basecoat of Scorched Brown.
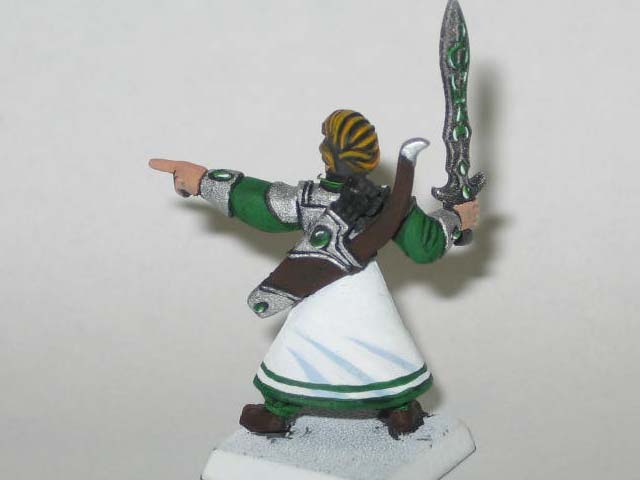
Brown Highlighting
Then, add a highlight of Bestial Brown. I highlighted the shoes normally, but for the bow, I simply drew lines on the edges.
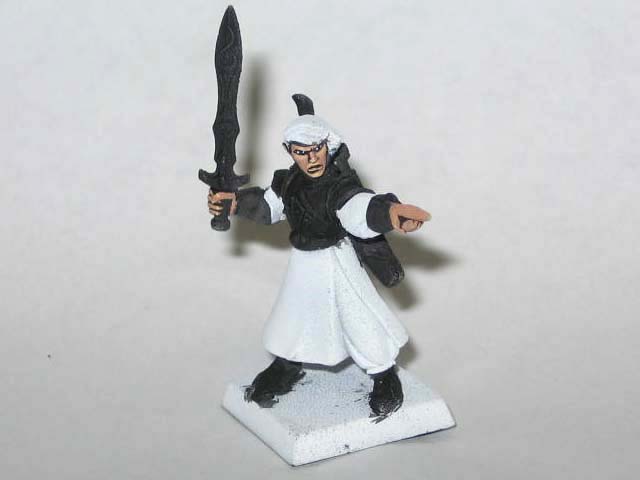
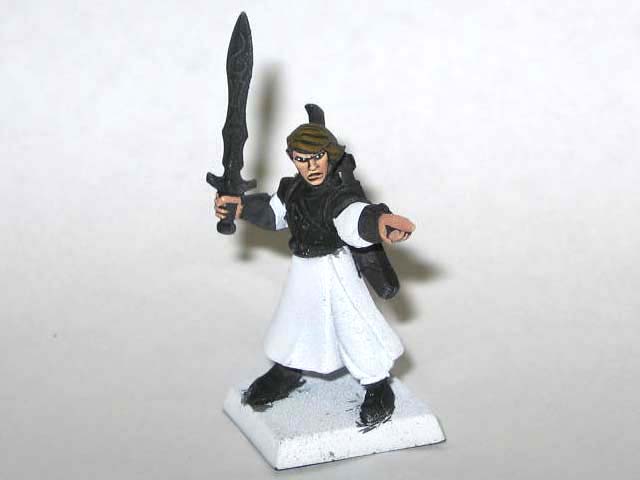
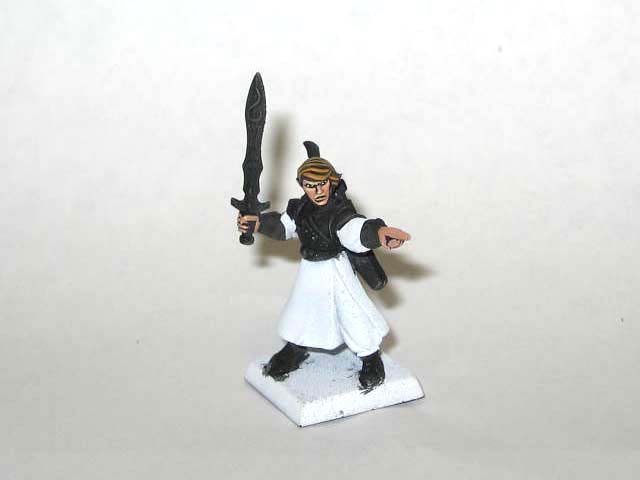
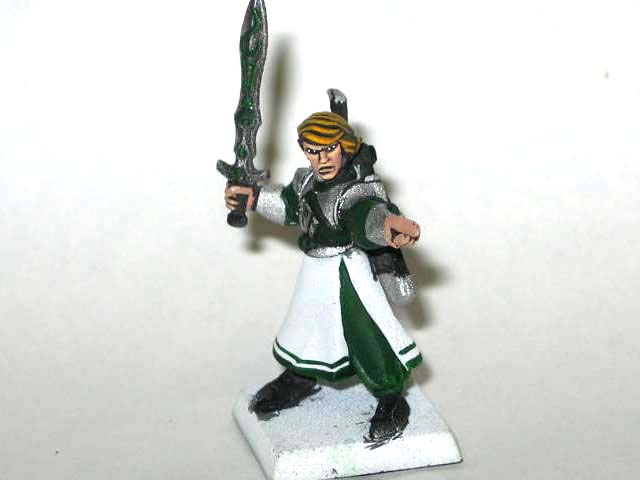
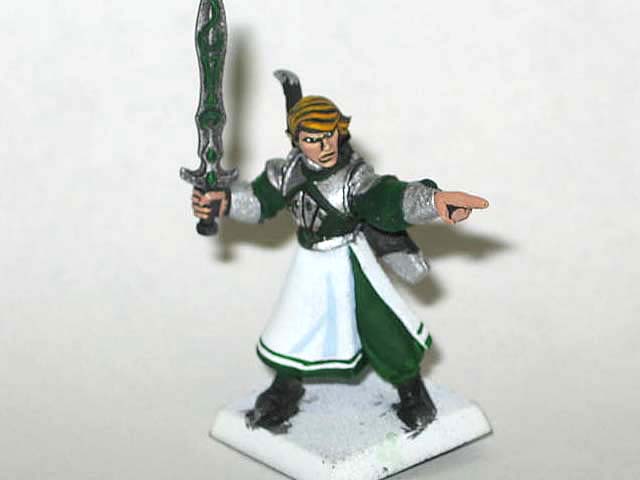
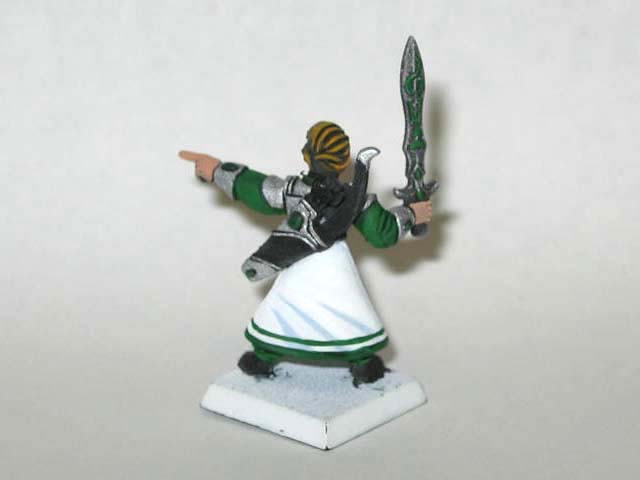
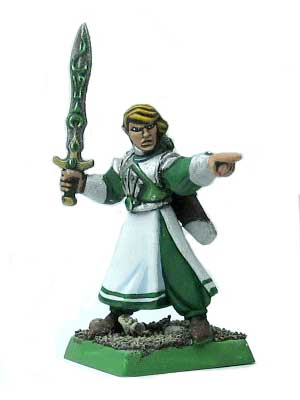
Finishing Touches
Paint the sword handle Burnished Gold, and the arrow feathers Codex Grey, and you're done with the painting.
Basing
To do the base, first you're going to paint the sides of the base whatever color you want it to be. Also...If you used white primer, make sure that you paint the edge of the top of the base also. This will ensure that no white will show at the edge of the top of the base after you put gravel/sand, (or whatever you want to use) on it. Don't worry about getting full coverage. If you primed the figure black, some black will most likely still be seen through the layer of green paint that you've just painted. That's fine because you'll paint over it again later. The whole idea is to just get the green onto the top edge of the base.
Next, you're going to base the figure like you normally do. You take some watered down PVA glue, and you brush it on. Then, you add gravel or sand or any other basing material to the figure.
After the glue has dried, you use brown ink to paint the base a dark color.
Most people paint the gravel with paint, rather than using ink. I use ink because you can actually dip the brush in the ink pot, then simply touch the sand with the brush. The ink will then seep into the sand, without you having to brush it on. It will take longer for the ink to dry than paint, but the time you actually spend working on the figure will be significantly smaller than the time you spend if you actually paint it on.

After the ink has dried (it will take a long time) drybrush Skull White onto the sand.
Now, paint your base color (in this case, Goblin Green) onto the sides of the base.
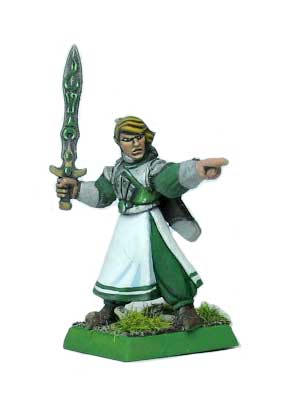
Varnishing
Next, spray your preferred varnish on. Once the varnish has dried, put some super glue on parts of the base, and put static grass on the figure. After that...You're done =)
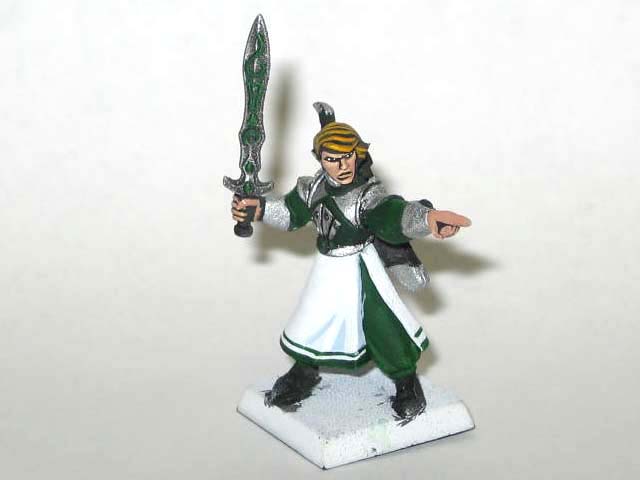
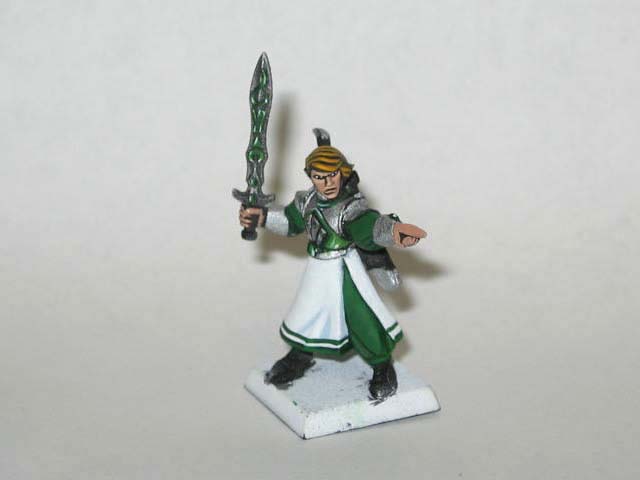
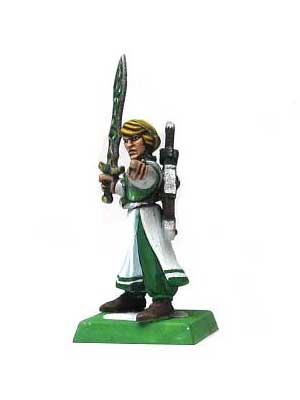
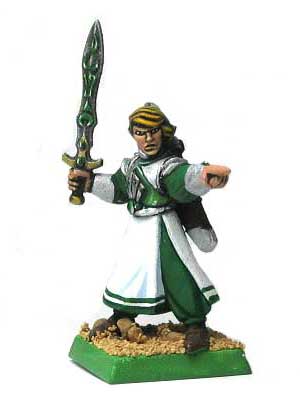
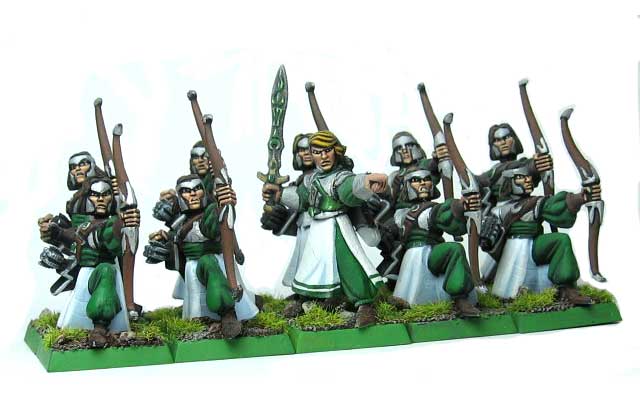
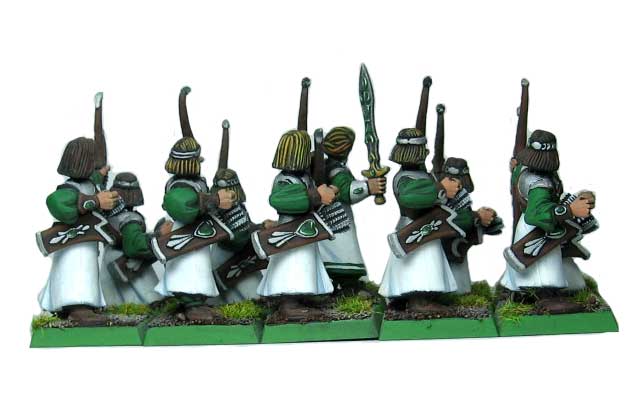
Here are some pictures of a whole unit painted like this. I hope this article is of some use to you.
Marth 1st, 2011
-
Painted Miniatures
-
Tutorials
-
Links